
A repaired console can run like new, but only if you treat it right afterward. Post-repair care isn’t complicated; it’s about airflow, temperature control, power safety, and a few light habits that keep heat and dust from undoing the fix. Skip the myths, cooling pads, and miracle sprays aren’t the answer. Consistent, simple upkeep is.
For long-term maintenance of the game console repair in Calgary, keep vents clear, manage ambient heat, update firmware, and check cables before they fail. Add a surge protector and basic cleaning, and you’ll stretch component life by months, sometimes years. The goal is stable performance with less effort.
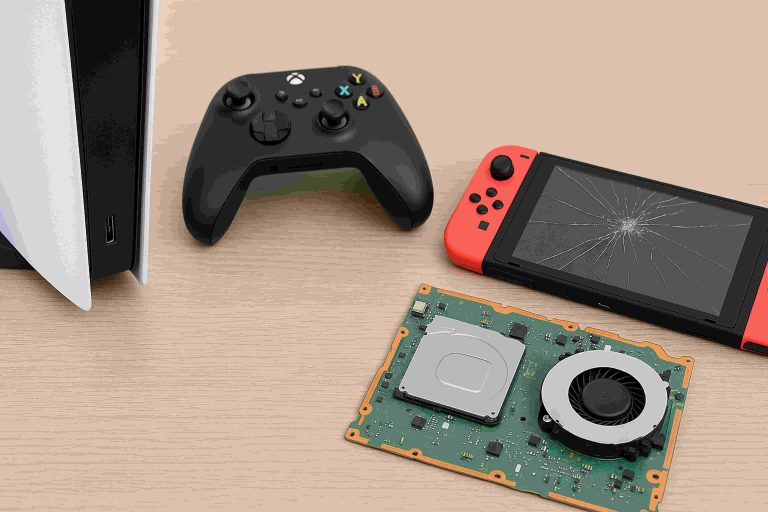
Easy Steps to Follow for Game Console Aftercare
Small, regular actions prevent big, expensive issues. Think of aftercare as four pillars:
- Airflow: Clean intakes and exhausts, avoid enclosed TV cabinets.
- Thermals: Steady room temps, no direct sunlight, don’t block fan paths.
- Power hygiene: Quality surge protection, tidy cabling, no daisy chains.
- Software health: Timely firmware updates, periodic diagnostics, safe shutdowns.
Keep Vents Clean
Dust is the enemy of cooling.
- Weekly: Wipe exterior vents with a dry microfiber cloth.
- Monthly: Use a hand blower (not canned air up close) at an angle to avoid forcing debris inside.
- Placement: Leave at least 4–6 inches (10–15 cm) clearance behind and to the sides. Enclosed cabinets trap heat; crack the doors or add a quiet vent fan.
Maintain Stable Temperature
Electronics prefer consistency.
- Room range: ~18–24°C is ideal; brief spikes are fine, but sustained heat ages components.
- Avoid hotspots: Keep away from radiators, sunny windows, and stackable gear that blows hot air into the console’s intake.
- After long sessions: Let the fans finish spinning before unplugging the power.
Use Quality Thermal Paste
If your repair included heatsink removal, ask which compound was used.
- Trusted types: Non-conductive, reputable brands with 5–8 W/m·K or higher thermal conductivity.
- Refresh cadence: Not frequent, only during major service.
- Red flags: Temps creeping higher over time, louder fans at the same workloads, or frequent thermal throttling.
Update System Firmware
Updates aren’t just features; they include stability and thermal curves.
- Auto-download: Enable automatic updates and rest mode installations.
- Controller firmware: Keep peripherals updated for Bluetooth stability and battery life.
- Storage devices: If you use an external SSD, check the maker’s utility for firmware improvements.
Clean Controllers Regularly
Grime causes sticky buttons and drift-like symptoms.
- After sessions: Quick wipe with a barely damp microfiber; dry immediately.
- Weekly: Cotton swab with 70% isopropyl around buttons, sticks, and seams.
- Cable care: If charging by cable, don’t yank from the wire; support the connector to protect ports.
Avoid Overloading Power Sources
Power strips aren’t infinite.
- One high-draw device per outlet group: Console + TV is fine; add amps and heaters elsewhere.
- No daisy chains: Don’t stack strips or extension cords.
- Check ratings: Make sure the strip’s joule rating and amperage exceed your setup’s demand.
Store Console Vertically or Horizontally as Designed
Orientation matters when it affects airflow or internal mounts.
- Follow manufacturer guidance: Some consoles are agnostic; others have brackets for stability.
- Surface: Place on a rigid, flat shelf; soft surfaces block vents.
- Movement: Avoid relocating the console while it’s on, spinning disks (if present), and fans don’t like shocks.
Use Surge Protection
Voltage spikes can silently damage power stages.
- Good-better-best:
- Basic surge strip: Minimum protection, replace every 2–3 years or after a major surge.
- UPS (battery backup): Adds brownout protection and safe shutdown time.
- Whole-home protection: Installed at the panel; pair with a quality strip for layered defense.
- Indicator lights: If the protection light is off, replace the strip.
Check Cables for Wear
Cable faults mimic console problems.
- Inspect quarterly: Look for kinks, frayed shielding, and loose HDMI latches.
- Label ends: Reduce unnecessary plugging cycles that wear ports.
- Spec check: Use certified HDMI for 4K/120 Hz or VRR; under-spec cables cause dropouts and black screens.
Run Periodic System Diagnostics
Prevent surprises with light maintenance.
- Storage health: Check free space; leave 10–20% headroom to reduce heat and slowdowns.
- Database rebuilds (where supported): It can fix menu lag and odd crashes.
- Fan/noise baseline: If the console suddenly runs louder at the same game settings, investigate dust or thermal paste age.
Conclusion
After a repair, protect your investment by controlling heat, power, dust, and updates. For long-lasting maintenance of a game console after repair, make sure you clean vents on a schedule, keep cables healthy, use a surge solution, and let firmware do its job. Follow these steps, and you’ll extend lifespan, cut noise, and keep performance steady, exactly what you wanted when you booked the game console repair in Calgary. None of this is a very time-consuming task; it’s routine maintenance, and it works.